Sunday, November 25, 2012

Dahlia Update

I dug up the dahlia tubers today for winter storage in the crawl space. Earlier this year, I posted an article about dividing the tubers.Separating dahlia tubers
Here are some pictures from the summer:


And from today:


Here what I got:


And all hosed off ready for the crawl space:


Did I mention I love my new digging fork! Way better than a spade.
This winter I'm going to force a couple of these to have indoor flowers.
One thing to note about the plants during the summer. Earwigs are attracted to the flowers and the new growth. They chew the flower petals and the new shoots. I cut several flowers each week for fresh cut flowers and had to vigorously shake out the slumbering earwigs.


Saturday, October 6, 2012

Apple Cider

This year has been a banner year for fruit trees in Colorado. All along the Front Range (Eastern Slope of the Colorado Rockies) fruit trees have had bumper crops. The last frost in Colorado this year was April 16th, that's almost a month earlier than normal.National Weather Service
Growing fruit here is dubious. Warm spring weather is often precede the last freezes. It is very common for most, if not all, fruit blossoms to be frozen off during their pollination phase.  Because the abundance of fruit this year, I decided to make cider. I got the apples from a friend. Luckily Ben, his wife, and two daughters all helped pick apples from their three trees. We don't know what variety they are because the trees were planted by a previous owner.
Here is what I started with:
The procedure to juice these is: wash, cut in half to look for any rot on the inside, grind, then press. The three trees had different types of apples. The majority of the apples came from a red apple tree. Ben says that tree is the best yielder because it blooms latest.These were the best apples in terms of number of good apples. The apples from the other two trees both less numerous because of earlier ripening, prior picking, falling, wildlife attack and also had the biggest incidence of mold in the core.
Apple cleaning/cutting
I poured a 5 gallon bucket of apples into my large brewing pot and rinsed with the garden hose. Pick from the pot cut in half. Good ones go to the bucket on the table, bad ones in the bucket between my legs.

Apple  grinder


Grinder teeth
I ground a few bucket's worth holding the grinder on the bucket with one knee and body bent over the hopper, before I got smart and clamped the grinder to my bench.
I could fit about 6-7 gallons of ground apples in the press at a time. Each pressing yielded a couple of quarts of cider and compressed about 50% from a full load.
Above is the first pressing, into an 8 quart pot. The press would have worked much better if I had it bolted down. It took quite some work to do the pressing as this press required adding wooden "cribbing" under the ratcheting mechanism. This proved difficult because the cribbing would tend to rotate and bridge to the outside of the press's slats preventing further tightness/pressing. Once the wooden blocks were below the top surface of the press they worked well. This required running the press in for some distance then reversing directions, to allow extra wooden cribbing to be installed, then retightening and repeating several times until the apple pulp was fully compressed.
Ratcheting press with cribbing
You can see the cribbing in the lower left touching the press's slats. The slats are chamfered to help center the cribbing, but it takes a lot more cranking force to over come the friction from this. My rental press was also showing signs of use in that the ratchet handle did not thread into the casting as it was intended and the removable / reversible prawls were deformed from use and would bind or cause the press to loosen instead of tighten.
Emptying the press after each pressing was easy.  The ratchet was loosened until the screw could be hand loosened and then the press housing separated. The pressed apple-cake sprang back a little and then was just transferred into a bucket to be moved into the compost pile.


I pressed from approximately 10am till 5 pm and got about 4 gallons of cider. I heated the cider to 170F to pasteurize it then let it cool. It was less than 100F at bed time so I poured it into a sterilized glass carboy, added 4 pounds of dextrose and a couple of packets of champagne yeast. The specific gravity was 1.086, this is used with the after fermenting specific gravity to calculate the amount of alcohol in the cider. I let it further cool overnight then moved the carboy into the crawlspace to finish fermenting.
6 gallon glass carboy with frothing yeast on cider


October Tomato Update

After a record hot summer fall has arrived, as has our first frost. October 4th was the first light frost in Boulder, CO. Tonight, Oct 6th, it is expected to hard freeze. I picked the rest of the tomatoes. While most of the plants died most likely due to being planted into beds with too fresh horse manure, the Amish Brandywine did very well. This plant was planted in a new bed with plenty of compost, but no manure. This was also the last tomato planted into the garden. The previous post has a "mid season" update but here are the final numbers. These tomato weights are all in pounds. The first harvest was the last few days in July and the final harvest (due to frost warning) was Oct 4th.
1.05, .55, .74, .50, .83, .44, .66, .63, .38, .53, .59, .68,
And the final harvest on Oct. 4th:
.76, .89, .80, .55, .86, .74, .79, .55, .47, .73, .34 all ripe


and additional green tomatoes weighing a combined 6.72 lbs


That comes to 15.06 pounds of ripe plus 6.72 green = 21.78 pounds from one plant. This plant was planted from a seed saved from last years crop.
Now That's BIG YIELDS!

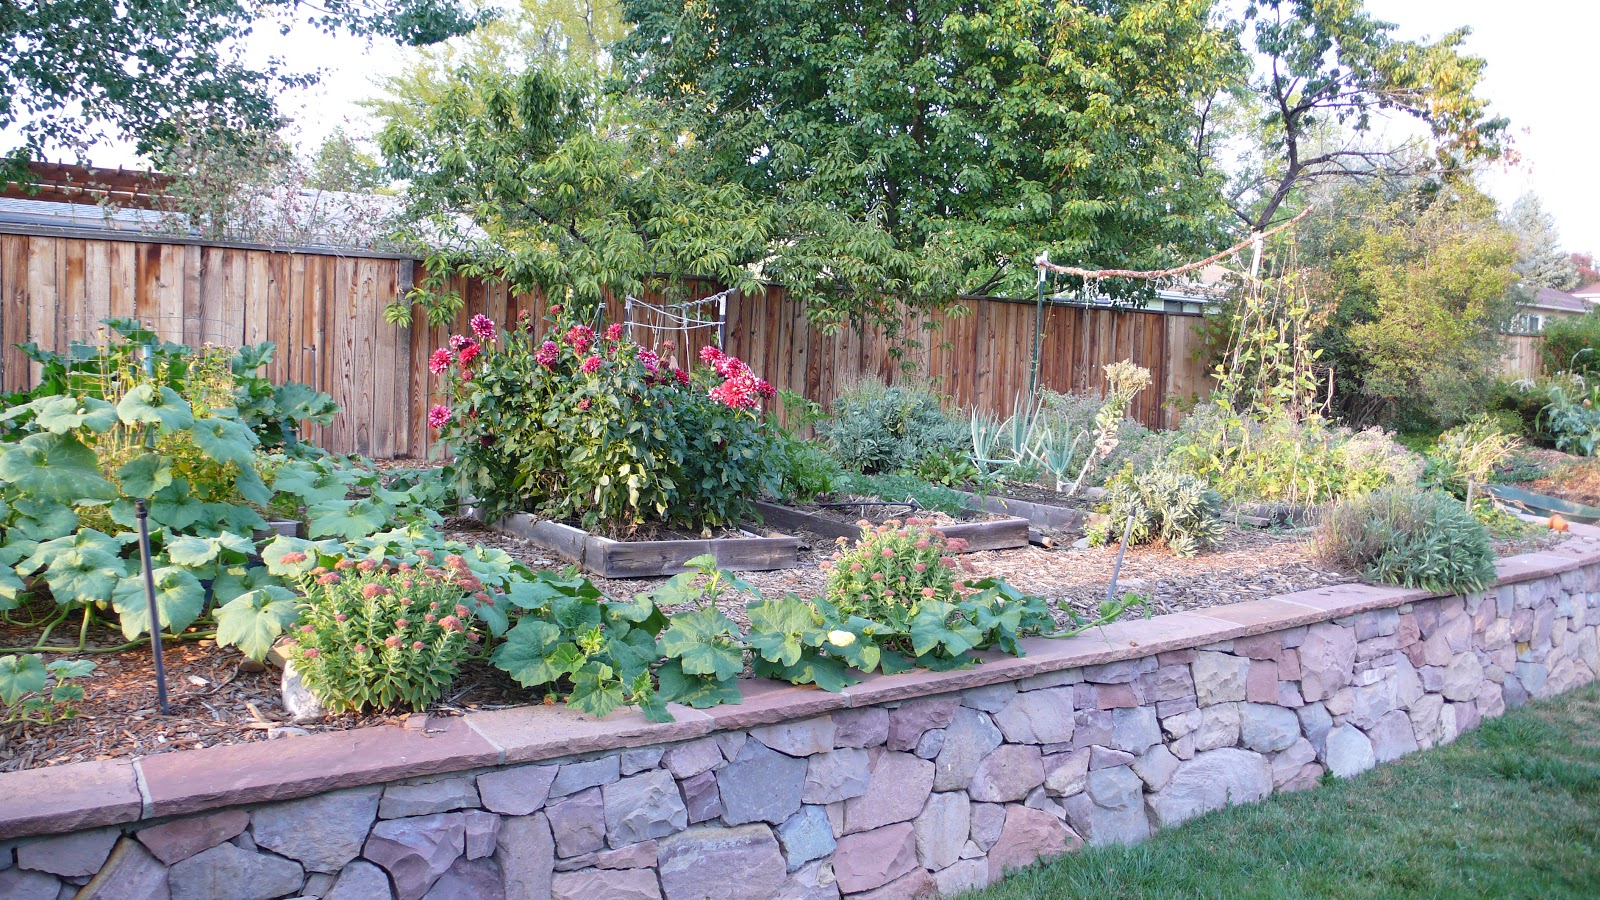
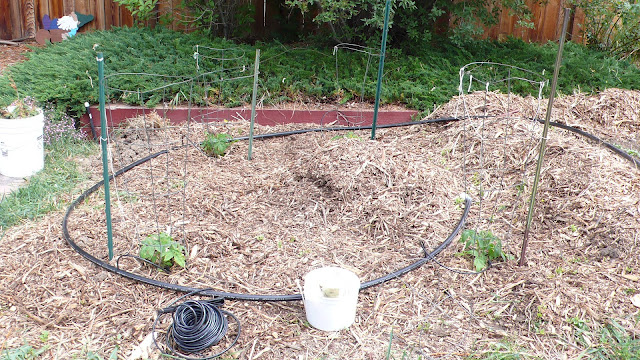
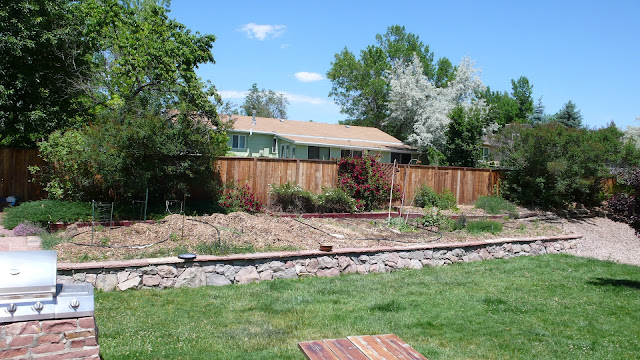
Here is the garden the next morning, Oct. 5, 2012, the Brandywine plant is to the left in the photo, just to the left of the tall green steel posts with white tops. The spot gets direct sun most day except for a shade period from the pine tree, left most by shed. The shade happened during the hottest part of the day for about 2 hours then sun again till dark. The fence and wall run almost directly East to West.

Monday, September 3, 2012

Boulder Brandywine Tomato Update

In my previous post, I showed the drying tomatoes. Here is the other tomato that is producing. Pink Brandywine. I have been saving seeds from this strain for 6 years. This plant started from seed into a peat pot then transplanted into a new bed which was previously covered with carpeting and wood chips (previous property owner). Into the pure clay I mixed in lots of compost.
Brandywine Aug. 26, 2012
This plant got a new cage but the pumpkin vine climbed through and pulled in down
Brandywine August 26, 2012


So far the weights are:
1.05 lbs
.55 lbs.
.74 lbs
.5 lbs
.83 lbs


BLT w/Avacado...Yum!

Spaghetti sauce, BLT's, Tacos. The best tasting tomatoes ever!
This is the .55 pounder!


Sunday, August 26, 2012

Its the last week of August and the warm weather vegetables are coming in. This year I am trying a new variety of tomato. I choose Principe Borghese from Botanical Interests http://www.botanicalinterests.com/products/view/0236/Tomato-Pole-Principe-Borghese-HEIRLOOM-Seeds/srch:tomatoes
Its a variety from Italy, grown specifically for drying. I started from seed and planted the seedlings May 21, 2012. I planted four seedlings into an area of the garden that I worked horse manure and added woodchips on top as a mulch several months earlier. It turned out too hot because two of the four plants died after growing. just a little bit. Three of four roma plants on the other side of the garden did the same. I guess I learned my lesson with regards to manure.

Yesterday I harvested my first load of tomatoes.
I washed and quartered them into the dehydrator.
And after eating several small handfuls, here is what I was let with.
A full sandwich bag. I would estimate there is at least two times as many green tomatoes still one the two surviving plants.


Tuesday, May 29, 2012

Drip irrigation

This year I took the next step in converting a lawn into a vegetable garden. See building soil tilth posting for earlier steps in this garden conversion project. This year I removed the pop-up lawn sprinklers and installed drip irrigation to all the veggies.
I counted the existing sprinklers and bought new risers 12 to 18 inch long to make sure my new piping was above ground with plenty of room to work around. I'm not sure if I over did the height as I've tripped a couple of times already, but I have a very thick layer of mulch to conserve moisture and help control weeds.
Carrot / radish bed


Carrots radish carrots with sprinklers


I bought several different types of emitters (sprinklers), hose and fittings.


The longer spike on the right has a spray head with a strip pattern. I like this type for my carrots, radish, and corn rows. The smaller pattern sprayers and drippers I used for tomatoes and cucumber. The idea is to put the water only where you want it without buying a zillion different ends. They do make drip hose in both the kind that weeps and some that has holes at regular spacing but I haven't had good luck with those because I cant adjust the flow rate.
To the top of the risers I connected barbed fittings for 3/4" funny pipe. I think its called funny pipe because you can bend it. Since it comes in a pretty tight roll it was never very ""funny" for me even though I left it in the sun for a while. Left on its own it wants to form a circles so I put large rocks and cement blocks on it to help keep it in place. This is the same stuff that is usually buried, in which case the soil will hold it in place.
Taller riser with 90 degree elbow


Then you pierce the 3/4" funny pipe with a nail or the special tool (which is an expensive plastic nail) and insert a 1/4 inch coupler, 1/4" delivery hose, and the emitter you select.


Here is a close-up of a roma tomato with a small spray emitter.


And a shot of the 4 Roma's. They were started indoors from seeds from Botanical Interests. Tomato Bush-Italian Roma. botanical interests italian roma
The package says, "up to 200 fruit per plant" so I'm hoping for 800 juicy babies.
I tried to leave extra length in the 3/4" funny pipe as the design of the garden will change from year to year and while its pretty easy to remove the 1/4" delivery hoses and plug the holes I'll try to reuse everything next year, a plan I wont ever start considering until next winter has me yearning to get back outside.


I have the crimping tool to allow me to use the low cost crimp on hose clamps, but you can see above that sometimes I don't crimp it right the first second or third time and have to use a standard tractor style hose clamp.
I also used different style hose barbs based on my needs, and what I could use without another trip to the hardware store. Several of the risers were not needed and just capped.
Tee fitting


Octopus fitting


After installing all the connectors I turned on the water and adjusted to flow and in some cases the location or direction of each emitter to where I thought it needed to be. These may have to be adjusted as the plants grow and either block the flow or need more water.

Planting Time!


I was busy last week getting seeds in the ground. I also upgraded the irrigation to a "drip" system. The old system was just the in ground lawn pop-up sprinklers. While those worked okay I think they wasted a lot of water and helped weeds by spraying water everywhere. Many plants are hurt by over head watering because the water on the leaves can lead to fungus issues. Though yields didn't seem to be effected, last year the Cocozelle summer squash from Botanical Interest had white powder mildew rather extensively. To be honest I've seen this frequently during the late season on squash, even with weekly applications of compost tea sprayed onto the leaves.
East Garden Plan


While I'm calling this a plan, I actually planted the seeds first then drew the "plan" for record purpose. I like to record where things are planted to help with my crop rotation. Some of the crops, such as beet roots, are in the same place for two seasons because I'm waiting for these biannuals to go to seed, other plants like the yukon gold potatoes are volunteers, meaning I missed some in the ground last fall and they resprouted this year. 
I tried a new system for the silver queen corn. I have planted this variety with great success several years ago at another home in Lakewood, CO. It grew to about 7-8 feet tall. This time I planted double rows, where two rows are spaced 12 inches apart then a 24-30 inch spacing to the next double row. I also planted kentucky pole and kentucky wonder wax pole beans in each double row, finally I planted the waltham butternut squash in the large "center" row. This is known as the three sisters method or system that was practiced by American Indians.
Below is the planted garden with drip system installed.
                      
West Garden May 29, 2012
The written plan actually is only left half, from the brown pot left. The right half was already planted.
Seeds planted week of May 20, 2012
Here are the seed packets I used this week. All of these where started in the ground. The tomatoes show on the plan, and several other tomatoes, were all started indoors several weeks ago. You can see that I have seeds from several different companies, Burpee, Botanical Interest (a local Colorado company), Baker Creek, Livingston, and seeds from last year's Waltham Butternut Squash. This Butternut is really good, I'll try to grow it every year. Another winner in my book is the Marketmore 76 cucumbers from Baker, I only had 6-7 seeds left in this packet from 2010. I planted them at the base of a trellis that worked well last year.
Cucumber trellis
 This year I bought a couple of bags of alfalfa pellets at the feed store and mixed them in the soil with some compost in the cucumber areas. The pellets are a cheap organic fertilizer 3-1-2 NPK based on some research. I found them at 40 lbs for $10.

Garden thief

 My friend above seemed very tame and inspected everything. I finally noticed that he was going for the worms and rolly pollies that I was turning up. I didn't mind the theft of a couple dozen worms and bugs, but I did get ticked when I saw him with a bean seed in his beak. He or she came back in the early evening with the rest of the family, but by that time I had a chance to hose the whole garden down and hopefully protect some of the seeds.

Compost escapees


 Here's part of why the robins were so friendly, although the robin didn't seem interested when they were in the wheelbarrow for some reason. Maybe he was just frightened like me!

Sow and pill bugs


Sunday, April 22, 2012

Who's that pupating in the garden?

A Pupa found in the garden April 22, 2012
I found this pupa (pupae?) in the garden while planting a row of green onions.
So what is it?
I think its a moth over wintering.
While I was taking the above picture some other criters starting running around.
I think its a clover mite above the pupa. There are a bunch of them. Officially Bryobia praetiosa if I am correct. Here's a close-up.


And here are the onions. 


They are grocery store green onions that I cut down to about 1.5 inches of the roots and re-sprouted in a glass with just enough water in it to keep the roots wet. I changed the water almost daily after I smelled it getting icky early in the process. They are pretty long, about a foot long, after about two weeks since taco night. I loosened the soil with my trusty hoe, that's how I found the pupae. plopped in the onions, took these pictures and then water them in.
The row had turnips over wintering, I didn't cover the turnips (Amber globe) and all but one expired over the winter. The beets (beet root / Detroit dark red) in the foreground, to the left of the bucket, fared about the same. Two survived. I suppose this means that I should cover them with mulch in future plantings.

Tuesday, April 10, 2012

Amaranth harvest

I like to grow a new plant in the garden each season. Last year it was Hartman's Giant Amaranth. I got the seeds from Baker Creek Heirloom Seeds and felt a bit jipped with the small volume of seeds I got in the package. The seeds are tiny, like poppy seeds. I planted them in a row about 6 ft long. I'm still a big Baker Creek fan. The package did grow from a few grams to over a pound of seeds.
You can eat the amaranth greens, like spinach, or wait for the seeds. The bugs, I suspect earwigs, and sparrows were relentless on the early greens, but the plants did amazingly well. These plants seemed slow to take off, but when they did they grew about 7 ft tall with very showy flower heads. The wind and weight of the seeds bent the plants over and staking may be required to keep the plants upright should that be desired. The mix of red flower heads and sunflowers (foreground) made a display that generated accolades from the  neighbors.
         
Early amaranth seed heads
The taller amaranth in the above picture are about 7 ft tall. They only got slightly higher due to the additional seed head weight bending the plants over. Several of the seed heads coupled with some wind grew heavy enough to break the stalks. I harvested all the seed heads that didn't bite the dust. And placed them in the garage until I could get to them to process the seeds.
As it turns out they just sat in the garage until spring when I needed the plastic tray some of them were in for germinating my current year's seeds. Here is picture of one of the dried seed heads.
Dried amaranth seed head
I used leather gloves and rubbed the seed heads between my hands to separate the seeds from the rest of the plant material.
Since these seeds are known to get weedy growing all over. I just threw away the stalks rather than compost them.
 Here is what I got separated from the seed heads / stalks with leather gloves. There wasn't enough wind to winnow the seeds so I used the box fan to blow away the red flower pedals and remaining twigs. To do this I turned on the fan and repeatedly grabbed and dropped hand fulls in front of the fan.
 
This was kind of a pain in the you know what. I'm not sure how many thousands of  these tiny seeds are in the lawn. What I found was that getting the last bit of red (flower pedals) out was the hardest. After closely inspecting the red parts still in the container, it turns out that they still contain seeds and are therefore almost the same weight as the black seeds. By rubbing what remains through gloved hands once again I was able to separate (thresh) most of the flower pedals off the seeds.

Here is a close up of what you are dealing with. The plastic container also generated some static which didn't help me out much.
I crushed up some of the what I winnowed out to seed how much seed was being lost in the process. Its hard to see in this picture but there are some seeds that you lose in the process. Lets just say that the bird's share. The rubbermade container show the seeds I kept. I did get a little more of the red bits out by pinching out by hand and shaking the container in front of the fan.
George the french bulldog 7 mos
See, the chickens like it.
This took a couple of hours to get done. I don't see how one could do any serious amount of this by hand to make it worth while. Maybe if you had chickens or hogs you could feed the entire seed head to them without the need to clean the grain off the plants prior to feeding it to them.
I check with Google and found a small scale grain separator: Grain cleaner Maybe that will be a project for the future.